Installing Kali Linux ISO into VMware Workstation Pro enables users to use a full-capability penetration testing operating system in a virtualized environment. Kali Linux ISO is not merely a file—it’s a bootable copy of the complete operating system, including the installer and core pieces required to install Kali from the ground up. In contrast to pre-configured virtual appliances (such as OVA files), which restrict full system customization, disk partitioning, user setup, and desktop environment choices, installing from ISO provides users with complete control over these aspects.
Kali Linux, developed by Offensive Security, is a Debian-based Linux distribution designed specifically for cybersecurity and ethical hacking. It is pre-loaded with tools such as Nmap, Wireshark, Metasploit, Burp Suite, and many more—making it red teamers’ and security professionals’ number one choice of OS.
VMware Workstation Pro is used as the host operating system, allowing this ISO-based OS to be used as a virtual machine. Being able to use advanced networking, USB pass-through, and snapshot control makes it ideal for creating repeatable and isolated test labs. This setup is best suited for students, ethical hackers, and security analysts who need to practice exploitation, malware analysis, and incident response without jeopardizing their original operating system.
To install Kali Linux in VMware Workstation, browse to the official Kali Linux page.
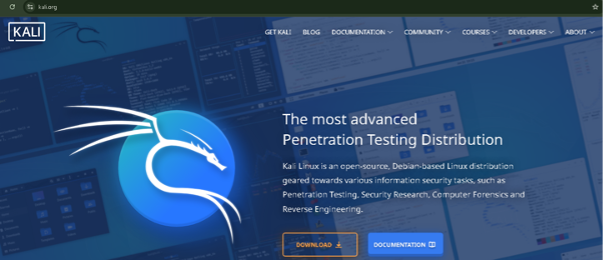
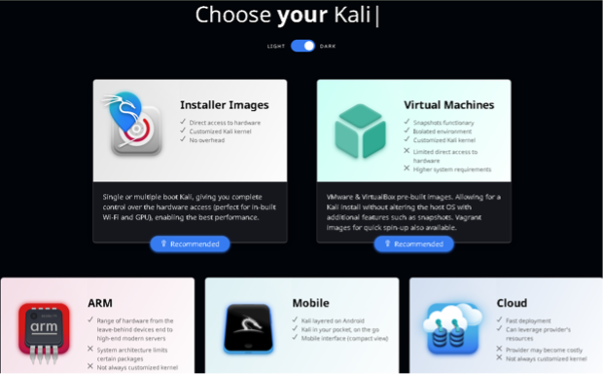
Step 1: Click on the Download option, which will show the platforms, and choose the Installer Images for downloading the ISO file.
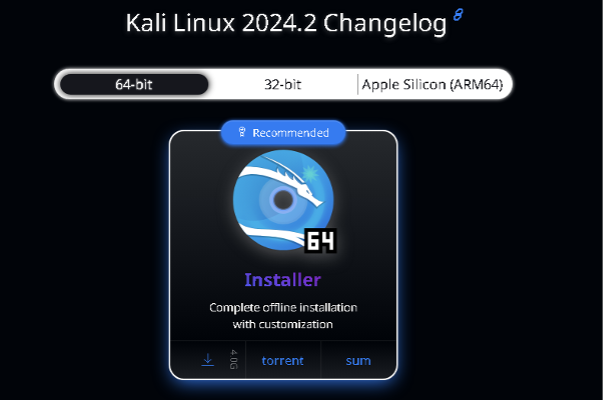
Step 2: Click on the download symbol to get the Kali ISO.
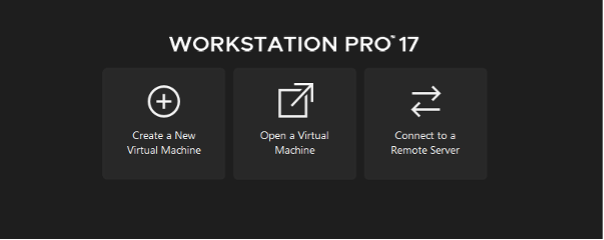
Step 3: After downloading the ISO, open VMware Workstation Pro and click on Create a New Virtual Machine.
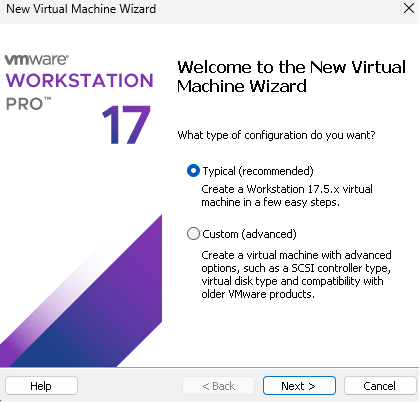
Step 4: The New Virtual Machine Wizard will open. Choose the Typical option and click Next.
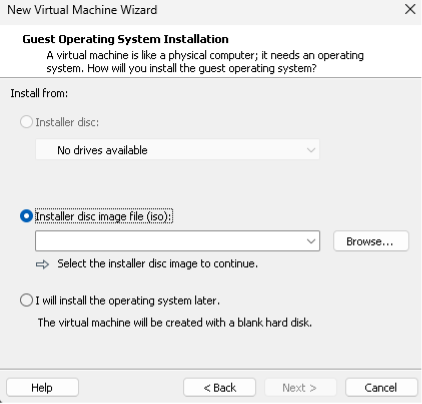
Step 5: Select the Installer disc image file option, upload the downloaded Kali Linux ISO image, and click Next.

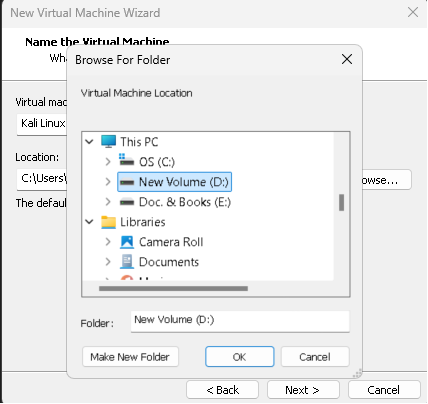
Step 6: Provide the virtual machine name and location where you want to store the Kali Virtual machine
Step 7: Specify the Disk Size of the virtual machine and select Split virtual disk into multiple files.
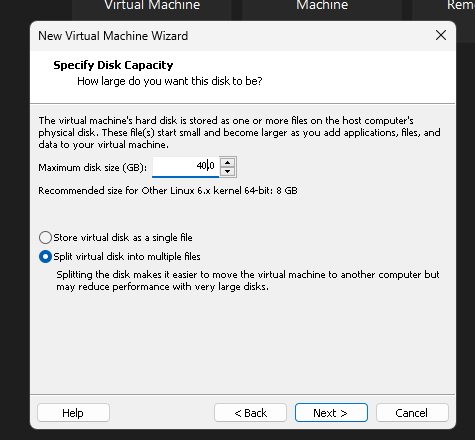
Note: Kali Linux Configuration is almost done.
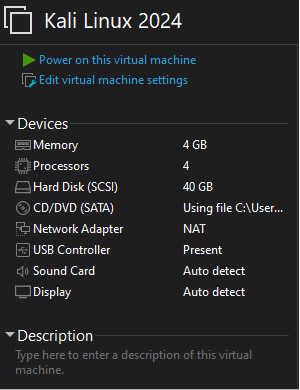
Step 8: Click on Customize Hardware.
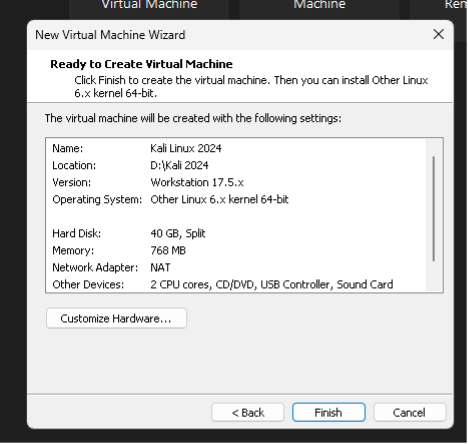
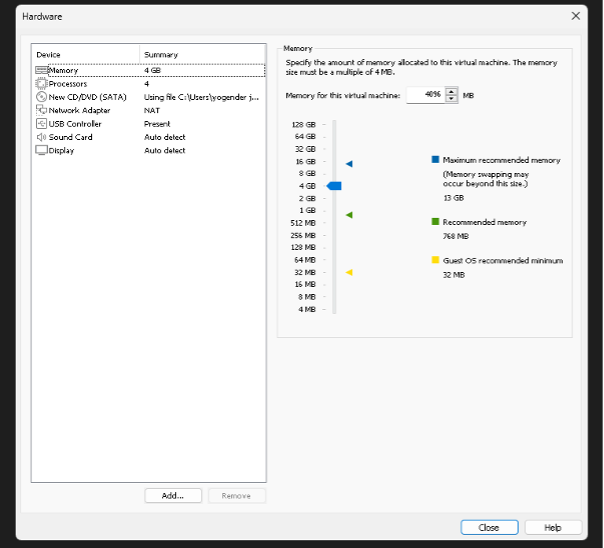
Now, increase the memory to 4 GB, and click on Close.
Click on Finish to save changes.
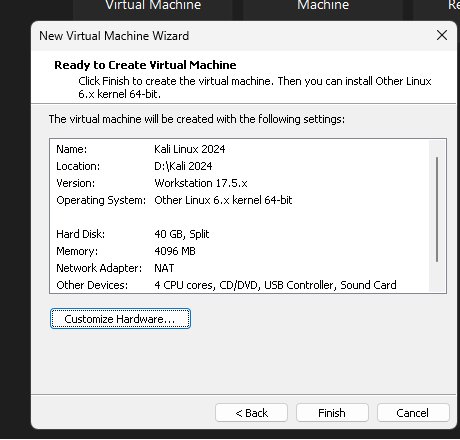
Now, Power on the virtual machine to set up Kali Linux in VMware.
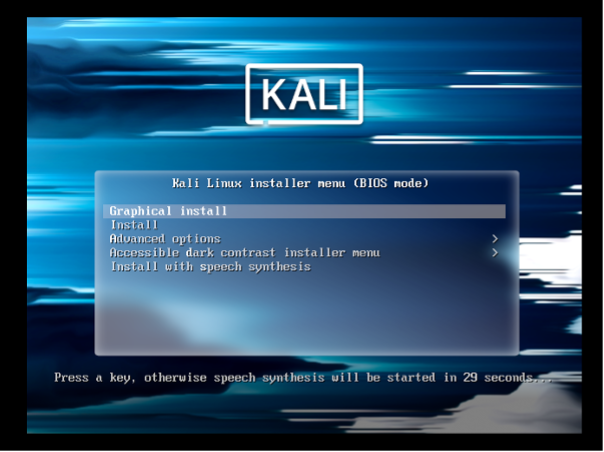
Step 9: Click on the Graphical Install option.
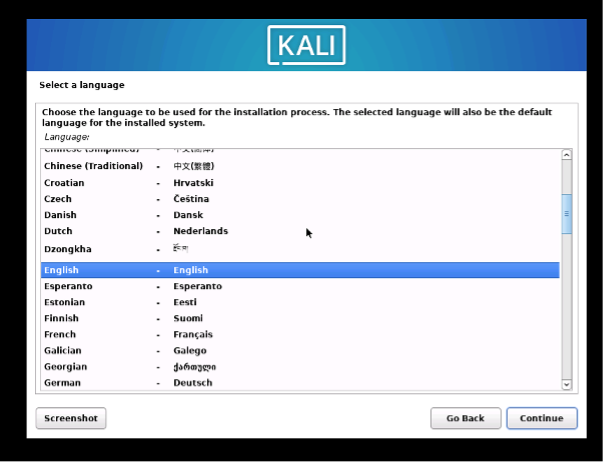
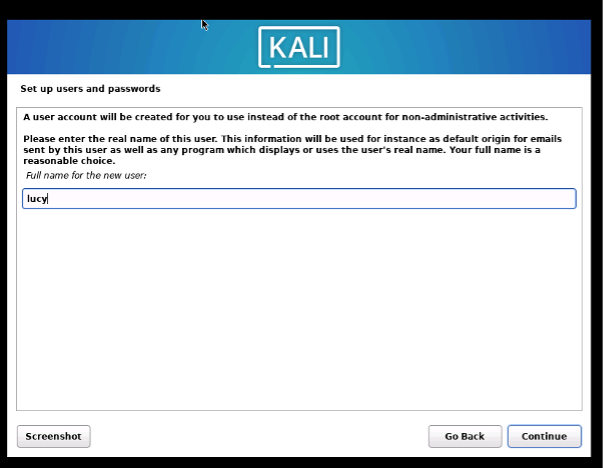
Now it will be asking for Language & Country, and Keyboard layout. After providing these inputs, create a Username & Password. Then, click on Continue. In the next steps, we will set these options.
Step 10: Select the language English. And click Continue.
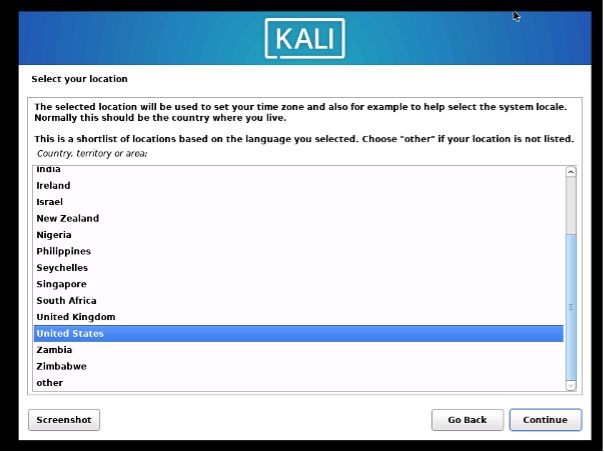
Step 11: Select the country, United States and click on Continue.
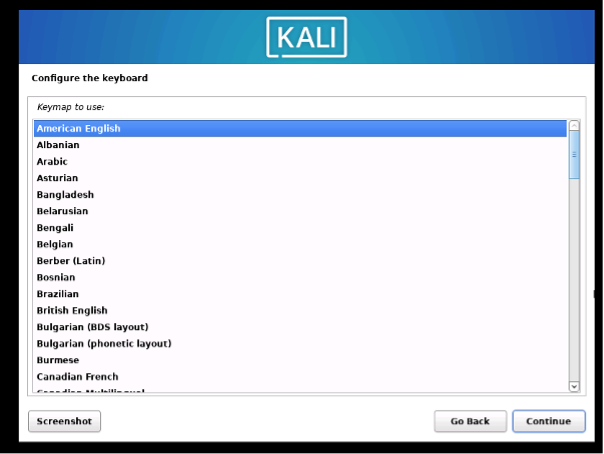
Step 12: Configure the keyboard, for American English and click on Continue.
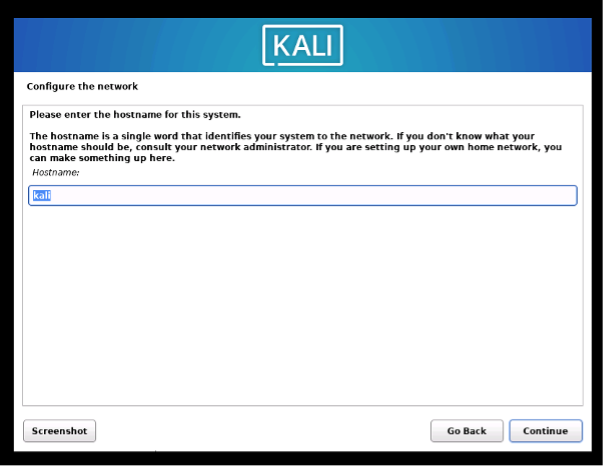
Step 13: Enter the hostname for your system. Here we have used kali, then click on Continue.
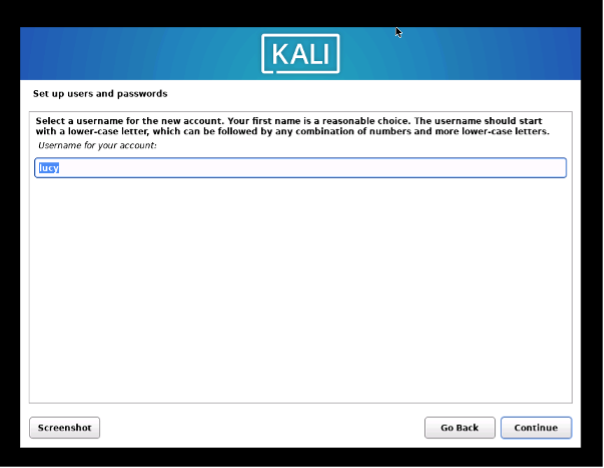
Step 14: Set up your username.
Step 15: Set your password.
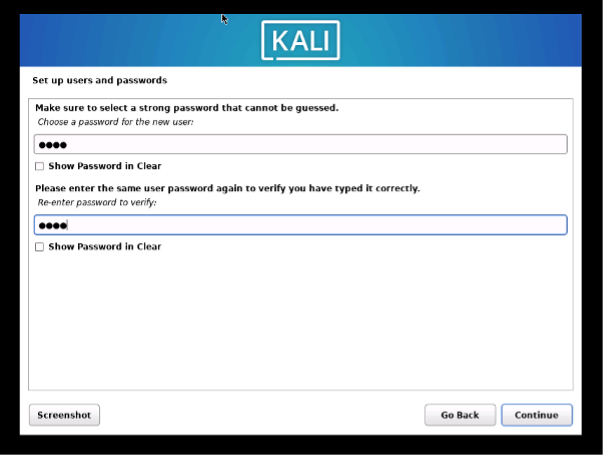
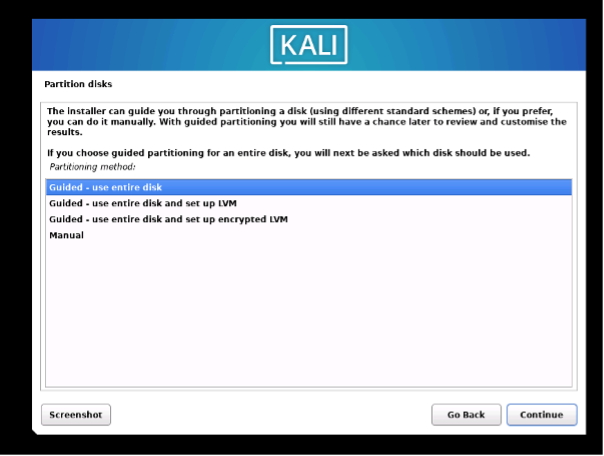
Step 16: Next, we will be getting a partition disk option. We will be using Guided – use the entire disk and click on Continue.
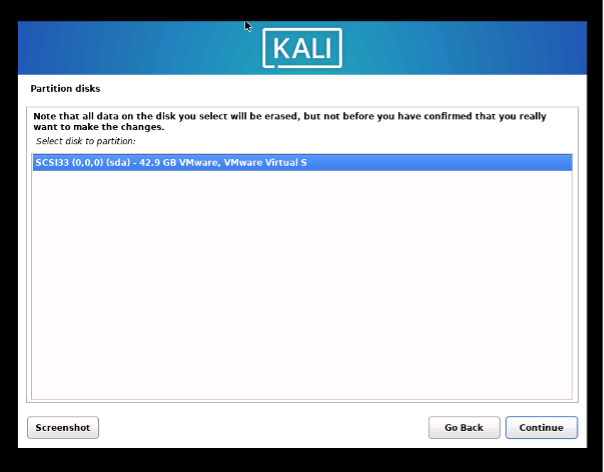
Step 17: After clicking on Continue, it will erase all the data from the provided storage (which we have provided at the time of configuring the VM) 40 GB. Click on Continue.
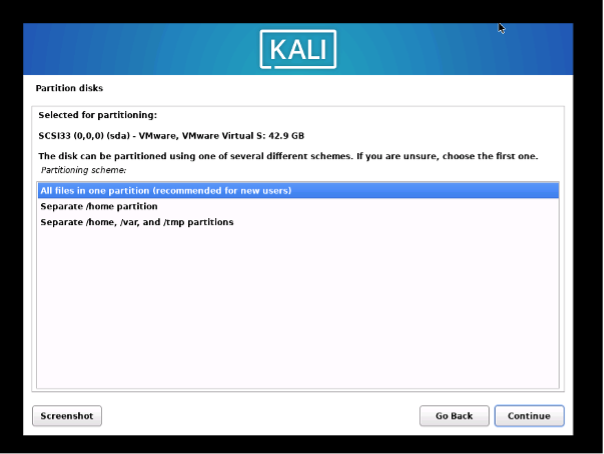
Step 18: Here, we get three options for the partition scheme. We will choose – All files in one partition, and click on Continue.
Step 19: After configuring the partition disk, it will show us the preview of the selected options. Click on Finish partitioning and click on Continue.
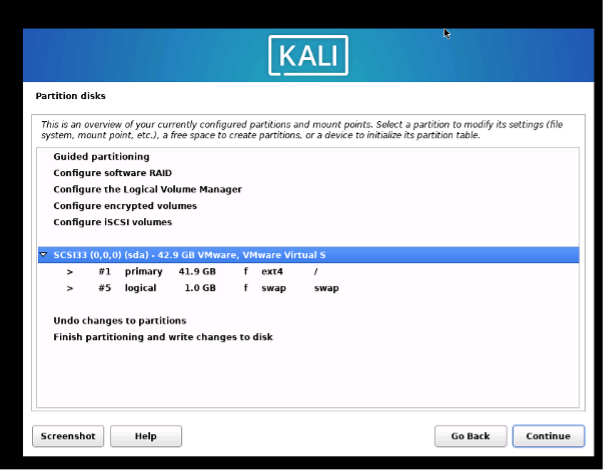
Step 20: Next, it will ask for writing the changes on the disk. Click on Yes and continue.

Step 21: After that, it will ask for installing the GRUB Bootloader, select Yes and click on Continue.

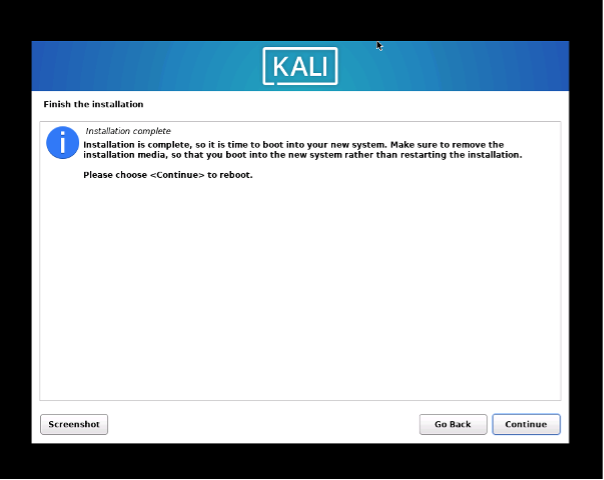
Step 22: After the successful installation of GRUB, the installation of Kali Linux is done, and it will ask for a restart. Click on Continue.
Step 23: After the restart, Kali Linux will show the login screen. Enter the username and password, which we have previously created.

Step 24: The Kali Linux Installation using ISO in VMWare Workstation 17 Pro is now complete and we get our home screen.

Conclusion
Installing Kali Linux using the ISO on VMware Workstation Pro provides a flexible and isolated environment for penetration testing, ethical hacking, and cybersecurity research. By following the installation steps carefully—from downloading the official ISO to configuring VM settings and completing the setup—you ensure a stable and secure virtual lab setup. This technique not only enables you to test without endangering your host system but also provides for snapshotting, cloning, and customizing for more complex testing scenarios. With Kali Linux installed on VMware, you’re now ready to explore advanced tools and methods in a controlled, effective, and professional environment.


