
Cloud computing has revolutionized companies’ business by offering scalable, on-demand access to computing resources. Infrastructure as a Service (IaaS) provides the most excellent control and flexibility over the IT resources of the various cloud computing service models. Amazon Web Services (AWS), one of the earliest cloud services, provides IaaS mainly through its Elastic Compute Cloud (EC2) platform. This article explores what IaaS stands for in the context of AWS EC2 and why it’s so crucial to modern IT infrastructure.
What is IaaS?
Infrastructure as a Service (IaaS) is a cloud computing model where the cloud provider delivers virtualized computing resources over the internet. These resources typically include:
- Virtual machines (VMs)
- Storage
- Networks
- Load balancers
- Firewalls
- Operating systems
With IaaS, companies can lease IT infrastructure rather than buy and manage physical servers and data centers, resulting in lower capital costs and greater agility.
AWS EC2: The IaaS Powerhouse
Amazon EC2 (Elastic Compute Cloud) is AWS’s lead IaaS product. It enables users to spin up virtual servers (instances) in minutes, customize the hardware and software environment, and scale resources up or down as needed.
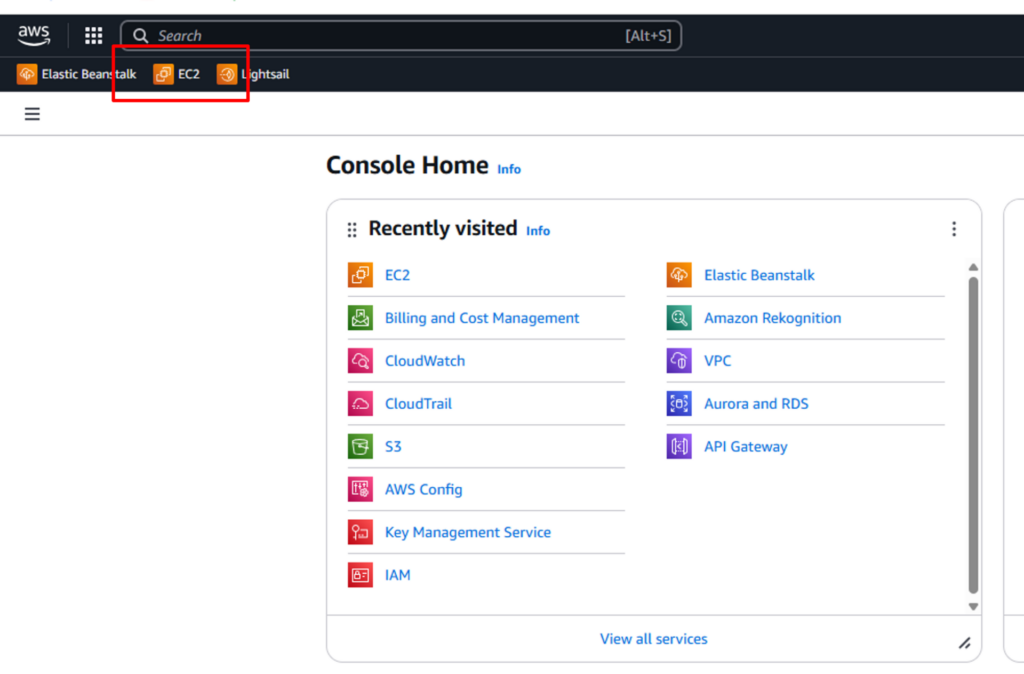
Here, you have to make an account on AWS, and this is what your AWS account looks like:
STEP 1: Launch an instance: Click on EC2.
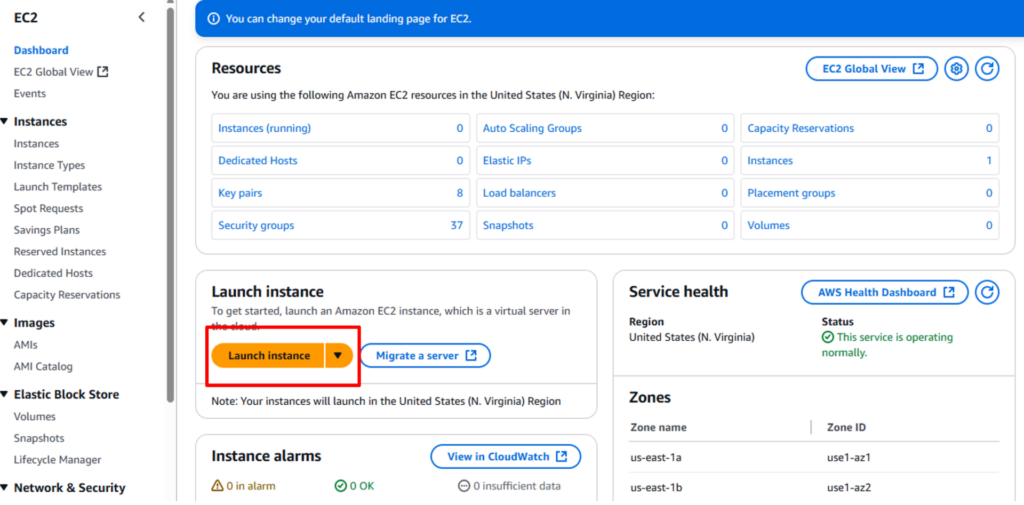
STEP 2: Launch an Instance. To make a server, click on Launch instance.
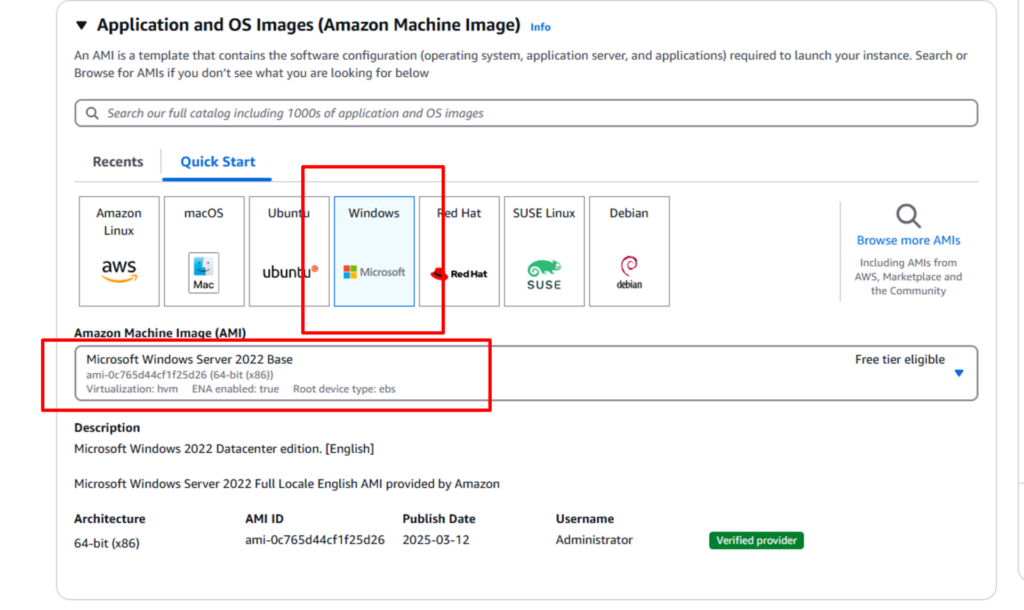
STEP 3: Now, let’s make your server.
- Here, you have to give your server a name, which is SECURITY.

- Select your Operating System. Here, you can select Microsoft Windows Server 2022 Base.
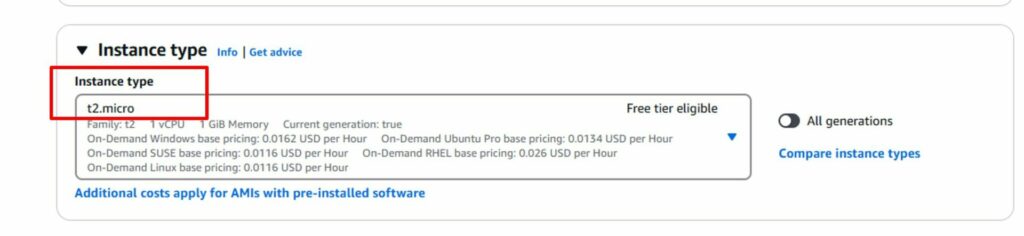
- For instance, type keep t2.micro.
- Now you must create a key, so click on Create new key pair.
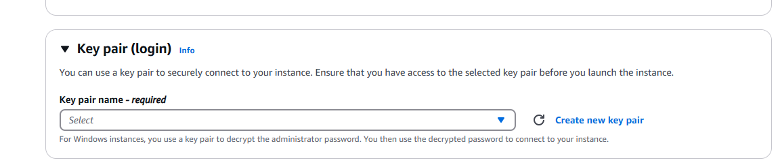
- Create a key name, Security, which will be saved in your system.

- Now click on Launch instance.


- Now, you can see that our server is running successfully.

Now that you know how AWS EC2 provides Infrastructure as a Service (IaaS), you’re ready to move on to the next step, where we will introduce you to what your real server looks like in the AWS world—from the dashboard to the terminal.
In this section, we will:
- Access our instance from a local terminal or directly via the browser.
- Install a basic web server (Apache)
- Serve a simple “Hello World” page.
- Understand and adjust security rules to make our server accessible to the internet.
By the end of this section, you will have a live server up and running in the AWS cloud and know the underlying pieces that make it happen—from key-based authentication to security group rules and public IP access.
Let’s do it and wake up your EC2 instance!
STEP 1: Go to your EC2 and see your Instances.

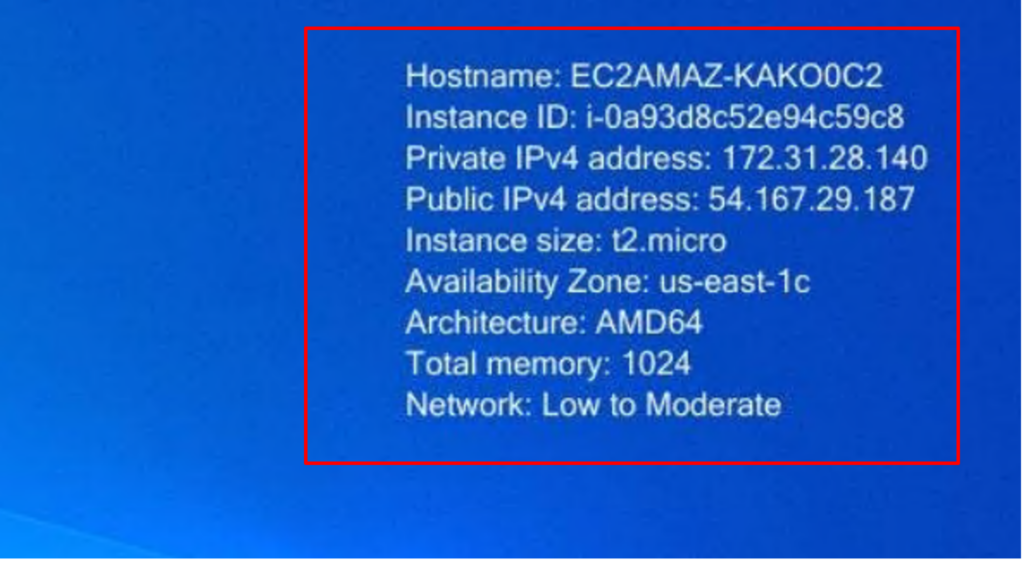
As you can see, your server is up and running. Now, we will see how it looks in the real environment.
STEP 2: Open your server in your Windows environment. Open RDP- Remote Desktop Protocol.
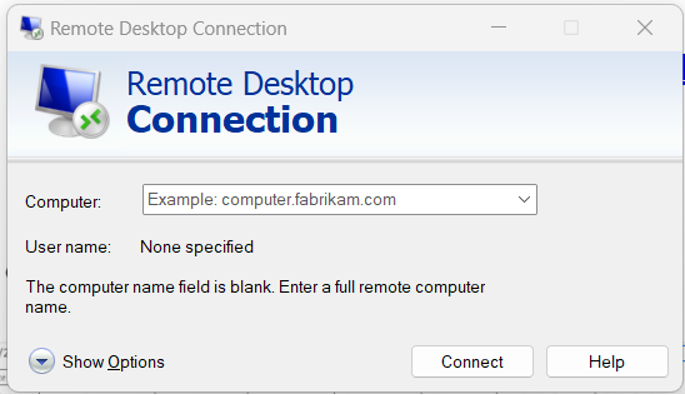
STEP 3: Add your public IP in RDP in order to connect to your server
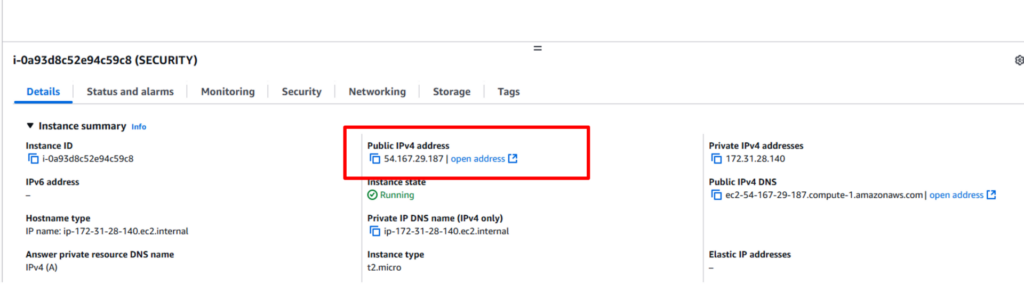
When you add your Public IP, you will see this page before you. Now, you must find the username and password.
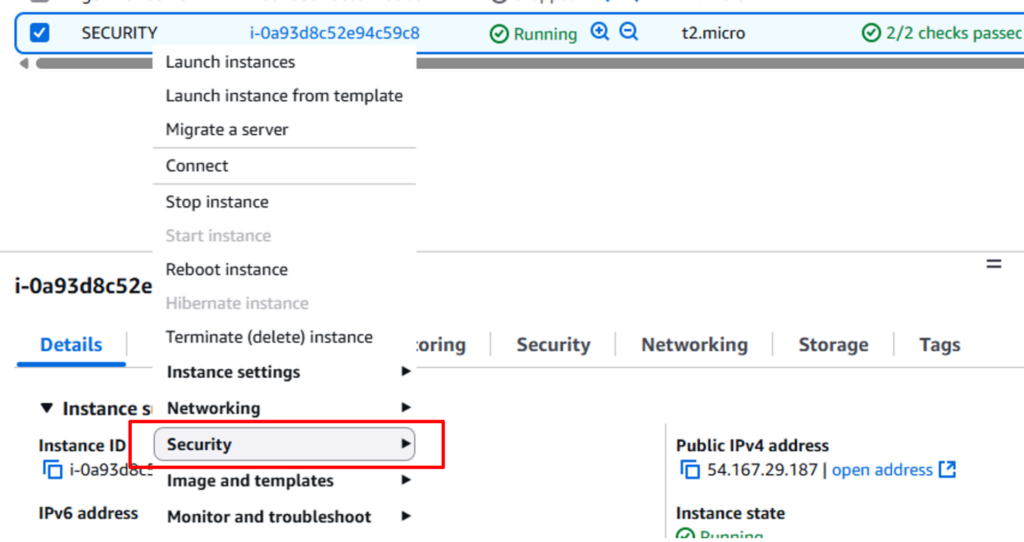
STEP 4: To find your window password on the server, click on your server to see it. Then, go to security. Here you will get your windows password.
STEP 5: Now, you have to get the password. To do so, you must upload the key that we created earlier by the name security.pem.
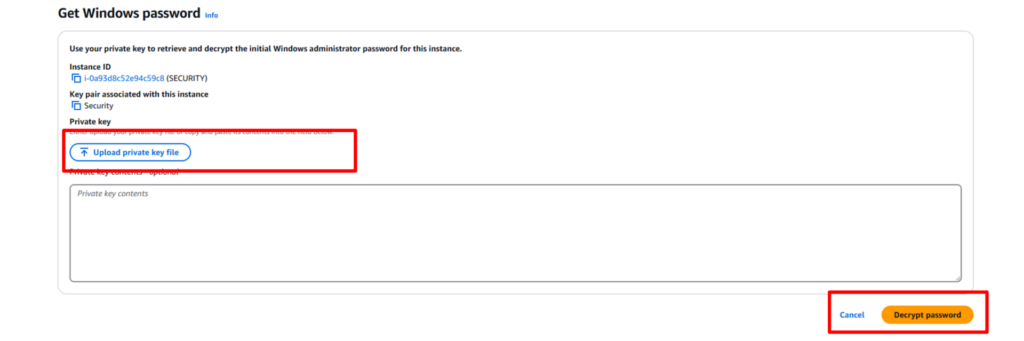
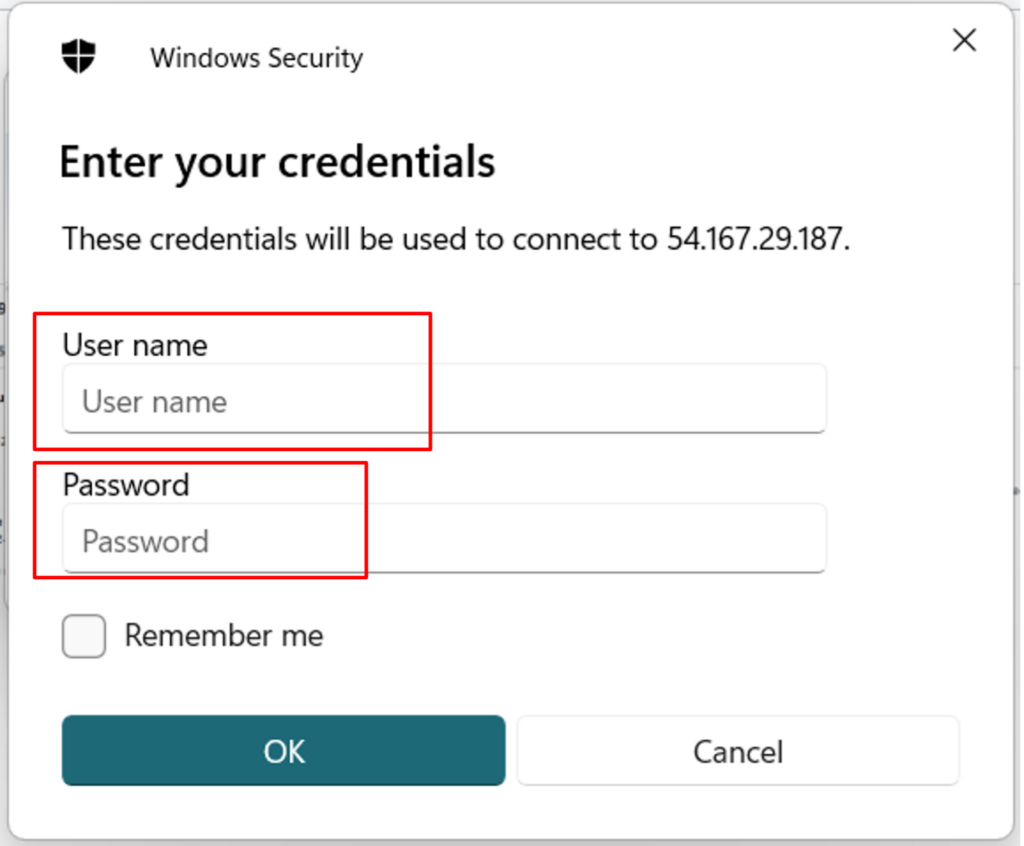
STEP 6: Upload the key and decrypt it to get the username and password. Once you do that, you will get the username and password.
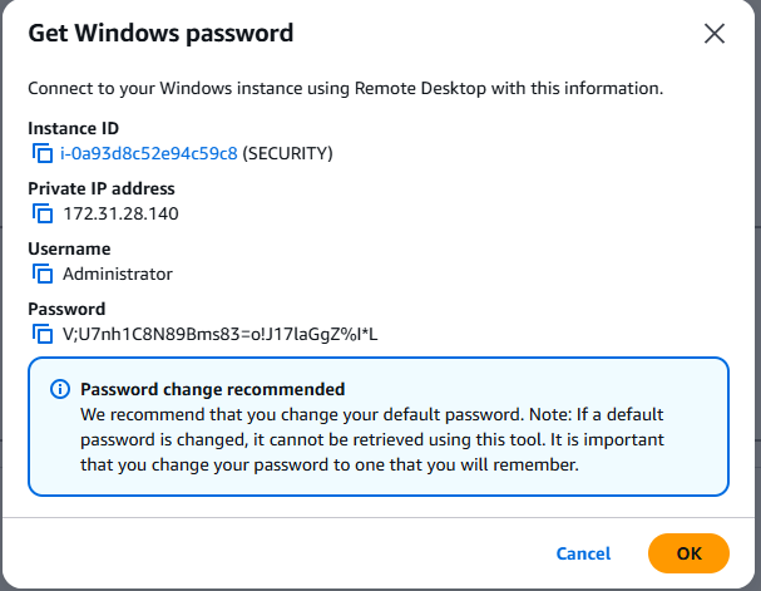
STEP 7: Now, add the username and password in Windows to get the connection.
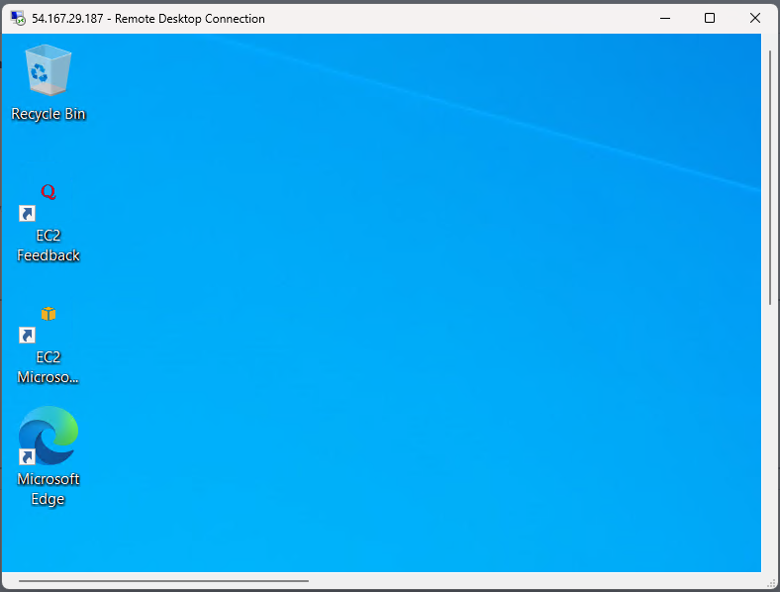
STEP 8: After launching the server, you can return to your instance and terminate the connection.

Conclusion
Congratulations, you have successfully launched your instance on AWS. But remember that the cloud is not only about computing and storage—it’s about agility, scalability, and control. With your server now live, the possibilities for the next steps include securing it with HTTPS, automating it with CI/CD, or even linking it up with a custom domain.
The possibilities are endless—and this is only the beginning.
Caught feelings for cybersecurity? It’s okay, it happens. Follow us on LinkedIn and Instagram to keep the spark alive.